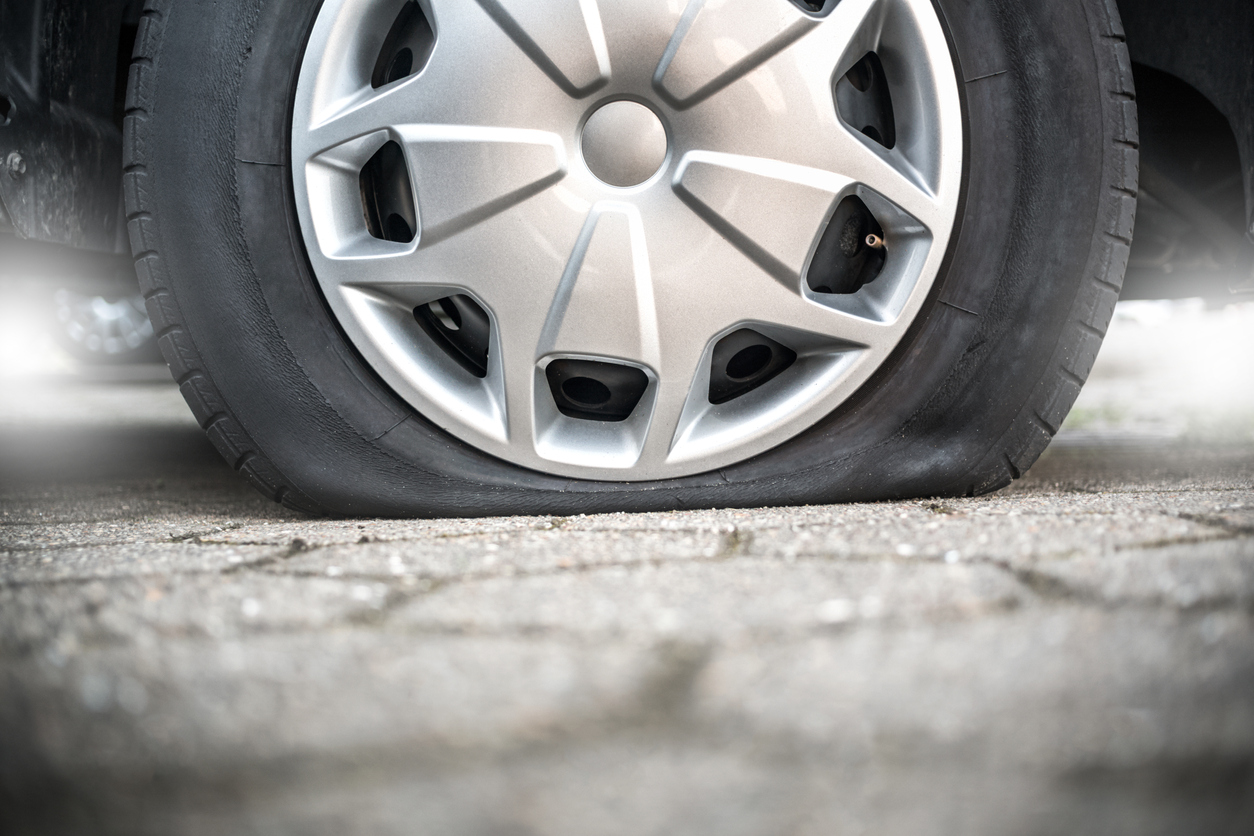
Your tires play such an important role in vehicle safety that getting a flat can feel scary. Maybe you do not feel qualified to fix the flat and continue on your way. Or maybe you have never had a flat and find yourself blindsided by the situation of needing to fix one. You can never predict where tire damage will happen and whether a professional will be nearby to help. For these circumstances, consider the advice of goodtirecalgary.ca on how to fix a flat. Once it is fixed, you can safely drive your vehicle to a mechanic for professional tire service.
In this article, we explore how to find a leak and fixing the leak with tire puncture sealant. Then, we explain how to use a tire plug kit to fix your flat.
Finding a Tire Leak
If you suspect your tire has a leak and is going flat, you need to find the point where air is escaping. To do this, follow the seven easy steps, below.
Inflate the tire.
Your tire must have proper pressure to make finding a leak possible. First, inflate the tire to the manufacturer’s recommended pressure, measured in pounds per square inch (PSI). You can find this pressure standard in your vehicle’s service manual or on a placard on the inside of your driver’s side door jamb.
Inspect the tire.
Examine your tire to look for any signs of cuts, holes, punctures or objects in the tire. It is important to do this before using other methods to find the leak as it can save you a great deal of time and energy.
Listen for a hissing sound.
In many circumstances, you can hear the hissing sound caused by air escaping from your tire. Get close to your tire and try this method.
Try to feel the air leak.
By running your hand slowly around the leaking tire, you can sometimes feel air escaping.
Spray soapy water on the tire.
If you still cannot find the leak through the methods above, spray your tire with some soapy water or window cleaner. Any signs of bubbling on the tire’s surface can indicate the location of a leak.
Cover your tire with soapy water.
If spraying soapy water on your tire did not indicate the leak, trying pouring the mixture over the tread. Then, look for signs of bubbling.
Using Tire Puncture Sealant to Fix Your Flat
Once you find your tire’s air leak, you can use tire puncture sealant to fix the flat. You will still need to drive your car to a tire service shop for repair or replacement. But using sealant can help you buy some time and mileage before needing additional help, such as a tow service.
Read the sealant instructions.
Each sealant brand requires its own steps and methods. Even if you have used tire sealant in the past, read the instructions to confirm you understand the process for this particular product.
Remove the puncture object.
If your tire has a nail or other foreign object embedded in it and causing the flat, you first need to gently remove this item.
Turn your tire to position its valve at the wheel’s top.
Once you turn your tire into this ideal position, remove the valve cap.
Attach the sealant can nozzle to your tire’s valve stem.
Once you have the sealant can’s nozzle on your tire’s valve stem, press the button to release the sealant into the tire.
Go for a drive.
After emptying the sealant into your tire through the valve, drive your vehicle to rotate the tire. By doing so, you enable even distribution of the sealant. This prevents the sealing material from forming a lump.
Visit your tire service.
Tire sealants are only intended to help you get your vehicle to safety and your tire repair expert. You can only rely on this solution to work for up to three days. You should also never drive more than 100 miles on a sealed tire, unless your tire expert has professionally sealed or patched the puncture.
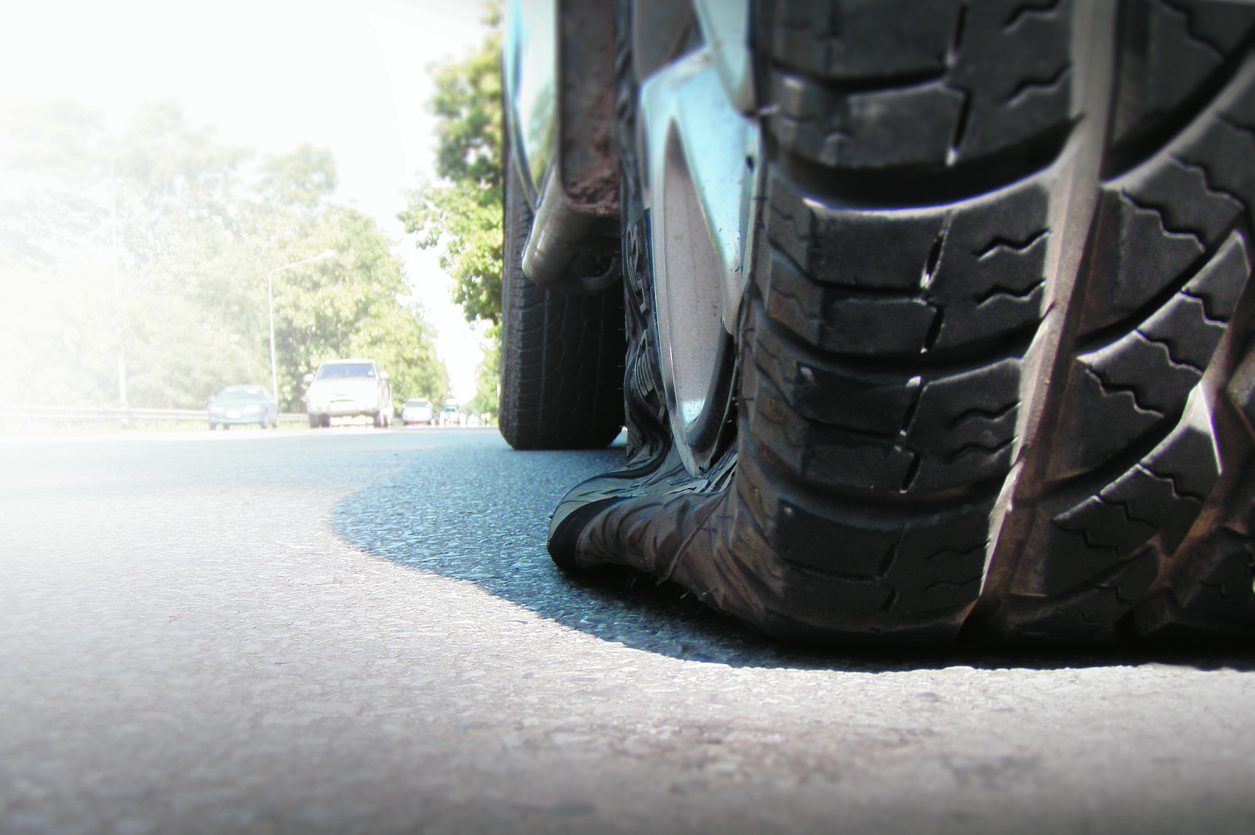
Van tire breakdown close up
Using a Tire Plug Kit
To plug your punctured tire and get back on the road, follow the steps below.
Loosen your lug nuts.
Use a lug wrench or impact wrench to loosen your lug nuts before jacking up the vehicle.
Jack up your car.
Once you have loosened the lug nuts, it is safe to jack up your vehicle. You must do this carefully to enable you to remove the wheel. Ensure you perform this step on level concrete or another hard surface. It is best to review your vehicle’s owner’s manual before placing the jack under the vehicle or performing this step.
Remove the lug nuts and the wheel from its hub.
Finish removing your tire’s lug nuts and pull the wheel from its wheelbase.
Pull the puncturing object out of the tire tread.
If your tire was punctured by a lodged foreign object, pull that object out using pliers. Mark the punctured spot with chalk or a marker.
Clean the puncture hole with the rasp tool.
You will find the rasp tool in your tire plug kit. Insert the tool in and out of the hole rapidly to roughen the surrounding rubber where you will apply the tire plug.
Thread the plug through the insertion tool’s center.
Using the tools supplied in the tire repair kit, complete this step.
Force the plug into the hole.
Use the provided insertion tool to force the tire plug into the puncture hole. It is important to apply provided adhesive, if this is supplied in the tire plug kit. This makes the process of forcing the plug into the hole easier by lubricating the hole, while also creating a seal.
Trim excess plug material.
Let adhesives supplied in your tire plug kit dry, if these were required. After allowing them to dry for at least a minute, you can trim away excess plug material.
Air up your tire.
Using a tire pressure gauge, fill the tire to your manufacturer’s recommended air pressure.
Apply soapy water to the plug.
By spraying or pouring a soap water mixture onto the plug, you can see bubbles form if the seal is not holding. If bubbling occurs, apply some cement from the tire plug kit or repeat the process using a new plug.
Replace your wheel and thread the lug nuts.
After putting the wheel back on its base, replace the lug nuts only tightly enough to hold the wheel in place.
Lower the vehicle.
Lift your vehicle off the jackstands using the floor jack. Then, remove the jackstands and lower your vehicle.
Tighten the lug nuts.
Tighten the lug nuts according to your manufacturer’s specifications. Ensure you do this in a star pattern.
Even with an effective tire plug, you still need to replace the tire within the next 20,000 miles. It is best to have your tire repair professional check the plug as soon as possible after its installation.